Cloud City
Step 10 ¢ The Final Scene
With all aspects of creation finished itÆs time to bring all the elements
together. We will be concentrating on putting all the models in place, setting
up the camera position, and adding a couple of final touches. The models will be
copied and pasted from their original Bryce file. I use this method because as my
scenes grow in size the detail of the wire frames can become lost when you move
objects around. This obviously depends on what sort of spec your PC is running
at, as to how it may affect you. Also, if you fill up your user-preset files with
lots of large models, Bryce has been known to become unstable and your work will be
lost. You can also use the merge function to merge the files, just make sure
you save the final scene prior to doing any merging. Note: In this step, the Object Attributes shown are examples from the
final scene, however, that doesn't mean you have to place them at exactly those
coordinates. Place the cities and gardens where you like them best. Create a new document in Bryce and open up the Sky Library.
Select the sky that was created earlier and click on the checkmark to load the
sky. Select and delete the default ground
plane (Ctrl-X). Select the perspective camera and access the Objects
Attributes by clicking on the  button next to it.
Enter a value of 0 in the Y-rotate column and change the scale to 66.67. button next to it.
Enter a value of 0 in the Y-rotate column and change the scale to 66.67.
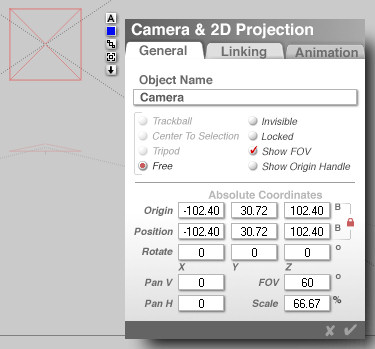 Change the camera view to ōCameraö
and use the trackball to tilt the
camera towards the sky so that the blue line of the artificial horizon
disappears from view. If you have trouble seeing the horizon line, access the
Camera Object Attributes and change the X-rotate to -22.35 and the Y-rotate to
5.16. Once this is done, save the Bryce file as "CloudCityFinal".
 Open up the Bryce
scene file called "Clouds". Select the cloud groups and copy them (Ctrl-C).
Close this file and return to the final scene and paste the cloud model into the
scene. The perspective camera should sit in the center of model.
Do a test render and adjust the position of the clouds until you have something
that you like the look of.
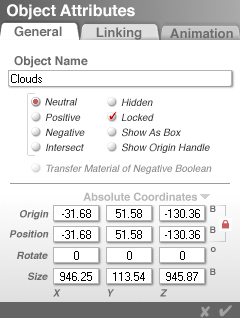
 Once you are happy with the cloud position access the
Object Attributes menu for the clouds and
click on the locked feature. Press Ctrl-S to save the scene.
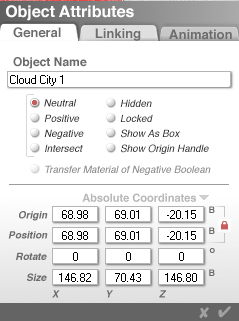
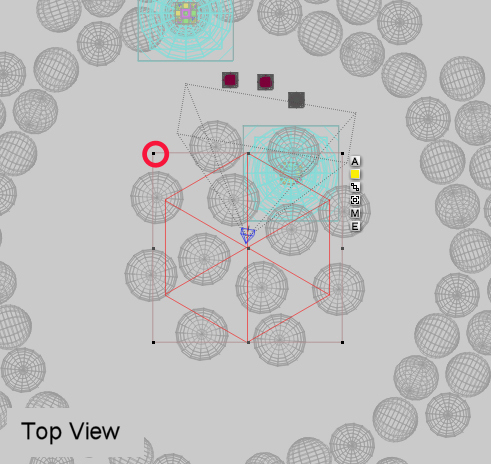
 Open the "Cloud City"
file, copy the group (Ctrl-C), and paste it into
the final scene (Ctrl-V). Place it quite near to the camera and to the right of
the screen. Do a test render if you want to be sure that you're happy with your
scene so far.
(click on the image for a larger view)
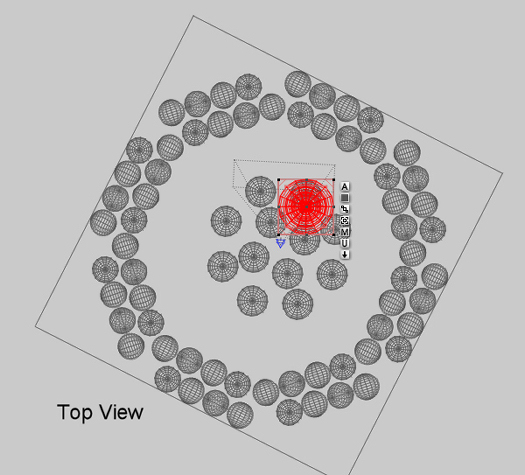
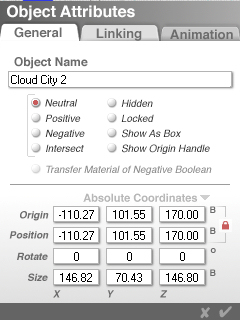
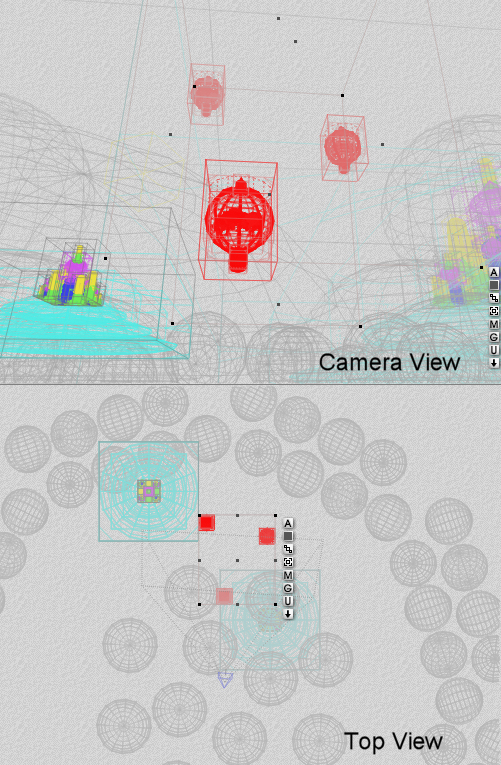
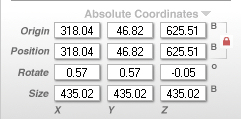
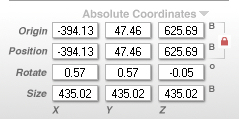
 Duplicate the cloud city (Ctrl-D) and position the duplicate further
away from the camera to the left hand side, looking from the camera
view. Once you are happy with the placement, lock both of the cloud city models by
accessing the Object Attributes and clicking Locked.
(click on the image for a larger view)
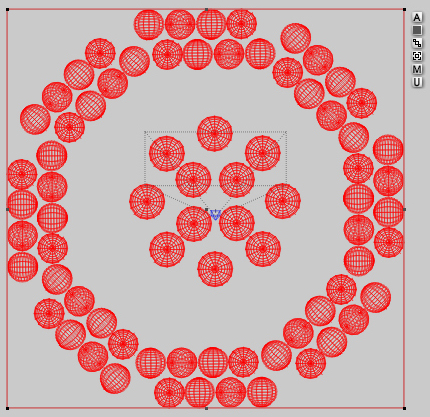
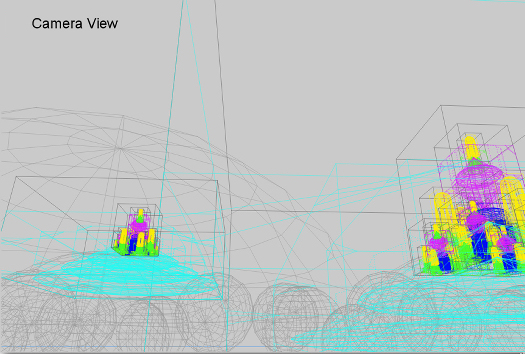
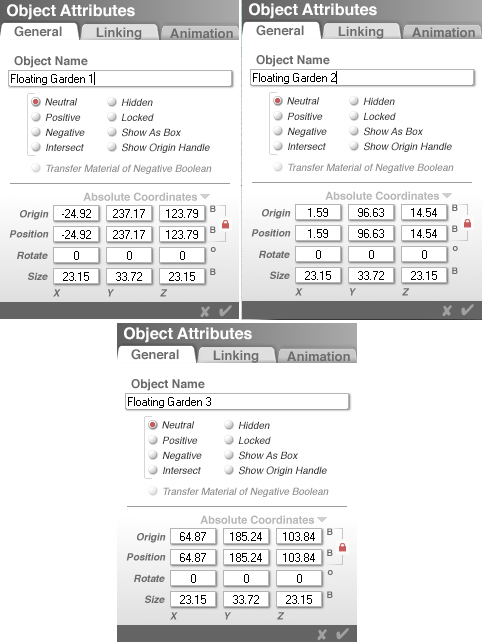
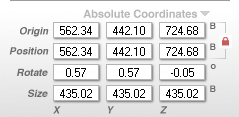
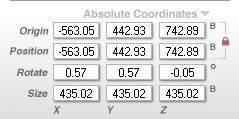
 Now itÆs time to introduce the floating gardens into the scene. Use the
copy and paste method to copy the garden from the "Floating Garden" Bryce file. In all there will be
three gardens introduced into the
scene and they will appear in between the two cities.
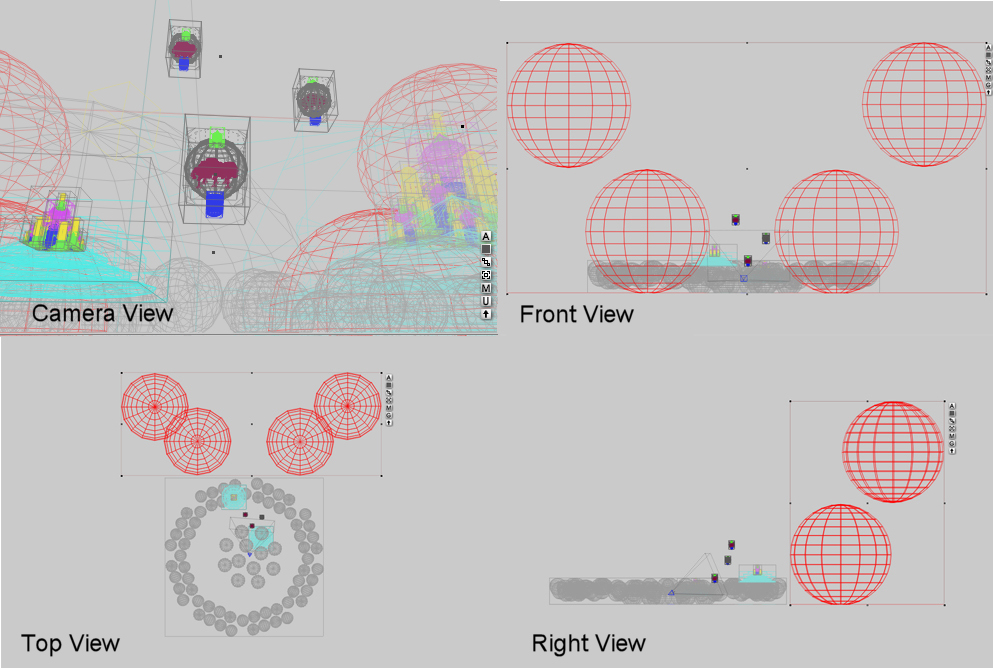
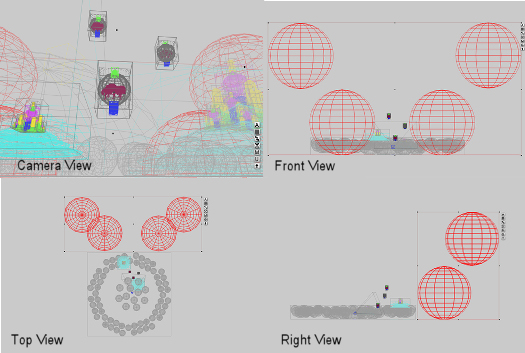
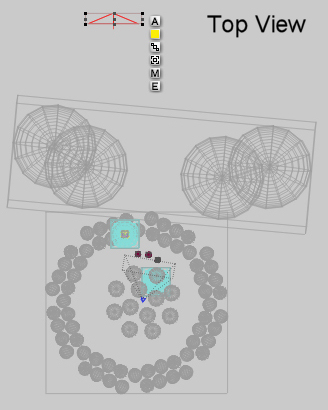
 Now itÆs time to add the final touches. Create
four large spheres and apply
the same cloud material used on the cloud group. The clouds need to sit behind
all the other models in the scene, and once again not touch each other. Once you
are happy with their position, select and group them together.
(click on the image for a larger view)
Large Cloud 1 |
Large Cloud 2 |
Large Cloud 3 |
Large Cloud 4 |
With the spheres selected, access the Object Attributes and click the
linking tab at the top. Where it says Object Parent Name, click on the box under
it to make
another menu appear. At the top of the list it says Perspective Camera, select
this option and click on the checkmark to accept the changes.
 The clouds will now remain in the same field of vision if you move the camera
around. The next step is to enhance the lighting, so we will create an
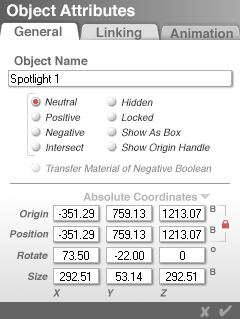
artificial sun. To do this create a spotlight and increase the scale like so:
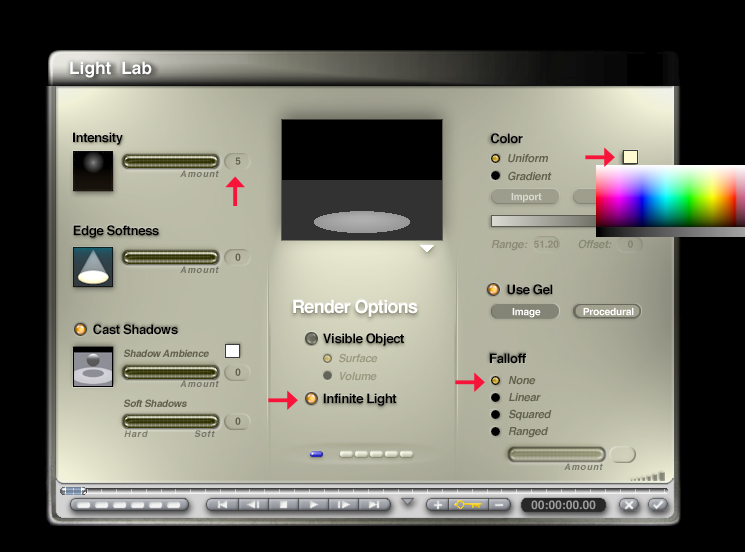
 Access the Object
Attributes for the spotlight, enter 90 in the X-rotate field, and click on the
checkmark to accept the changes.
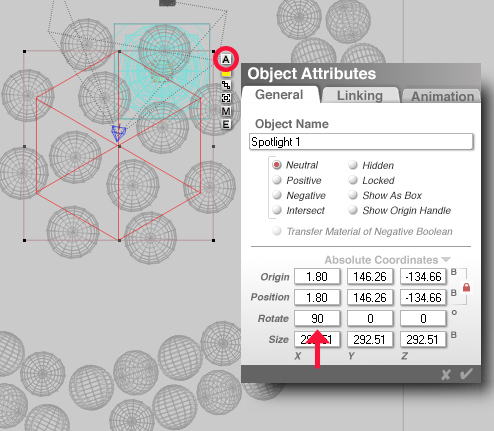 With the spot light
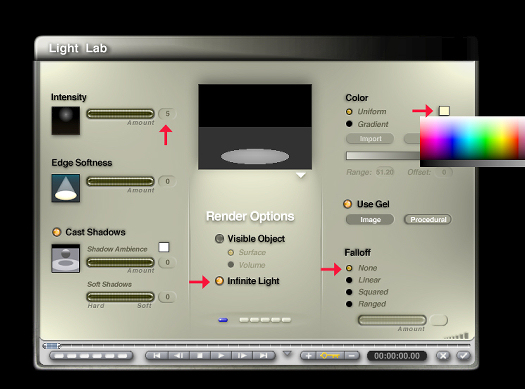
selected reduce the depth of it through the z-axis to about 292. Click the
 button that appears next to the bounding box to enter the
Light Lab. Change these settings: Intensity to 5, switch Infinite Light on, and
Falloff to
none. Where it says Color, click the white square to access the color palette
and select a pale yellow. Click on the checkmark to accept the changes. button that appears next to the bounding box to enter the
Light Lab. Change these settings: Intensity to 5, switch Infinite Light on, and
Falloff to
none. Where it says Color, click the white square to access the color palette
and select a pale yellow. Click on the checkmark to accept the changes.
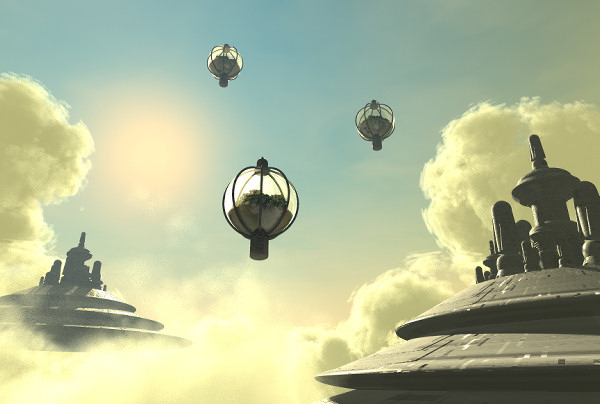
(click on the image for a larger view) Position the spotlight beyond the other objects in the camera's field of
vision.
 Viewing the scene from the camera view, position the spotlight in
relation to the sun's position in the sky. You may want to change the angle of
the spotlights position but this will be down to personal preference.
 Once you are happy with the way
the scene looks, itÆs time to render the
final image but it might be a good idea to save the scene first. Render times vary according to the type of materials, lighting, etc.
that are in your scene. To save time, I would recommend keeping the render
quality at regular, but you can increase the settings if you wish. Once you've
rendered the scene, save the image as a TIFF file and it's time for some post
work.
(click on image for a larger view)
Step 11 Post Work |