Cloud City
Step 8 ¢ The Floating Garden
The next model we will build will be a floating garden. It will consist of
models from the user presets created for the city plus a glass ōbubbleö
structure, which will house the garden. The tutorial for this section will
follow two parts, the first to create the bubble, the next to create the trees
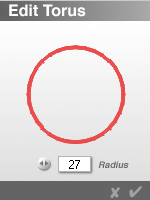
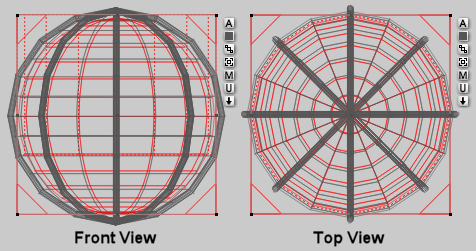
that will be housed in the bubble. Create a torus and click on the
 button next to the torus and enter a value of
27 in the box marked radius. button next to the torus and enter a value of
27 in the box marked radius.
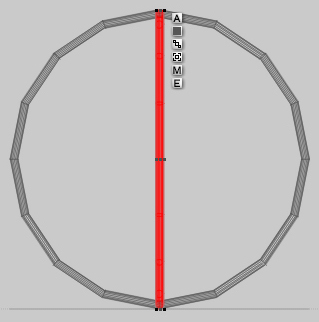
Duplicate the torus (Ctrl-D) and enter the attributes menu by clicking
the  button next to the bounding box.
Enter a value of 90 into the Y-rotate field and click on the checkmark to accept
the changes. button next to the bounding box.
Enter a value of 90 into the Y-rotate field and click on the checkmark to accept
the changes.
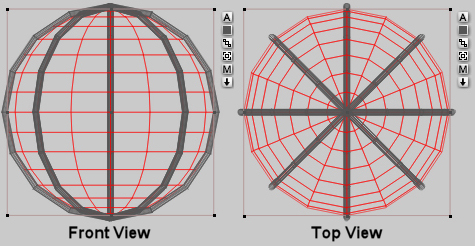
Select both tori and duplicate
them (Ctrl-D). Group the two duplicates
together (Ctrl-G) and enter the Object Attributes menu. Enter a value of 45 in the
Y-rotate field, then click on the checkmark to accept the changes, and ungroup them (Ctrl U).
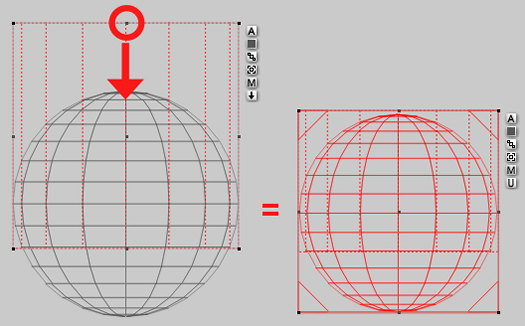
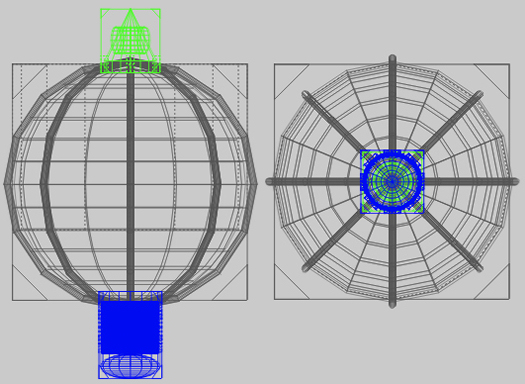
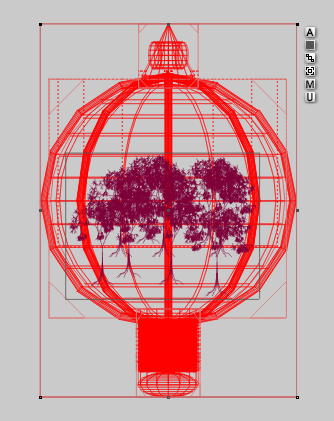
Create a sphere and align it in the center of the tori group. Resize the sphere
slightly to fit inside the tori group (19.5 on the X, Y, and Z-size should about
do it). Rename the
sphere ōglassö in the Object Attributes. This is the material that will be
assigned when texturing the model, so giving it the name will help when
selecting which materials are assigned to which object. Select all the objects
and group together (Ctrl-G), this will become the ōbubbleö.
Now to build the ground
for the garden. Create a sphere and press "P" on the keyboard to give it positive
attributes for Boolean operations. Create a cylinder and give it negative
attributes by pressing N on the keyboard. Align the cylinder with the sphere as
in the example and reduce the height of the cylinder through the y-axis. Select
both and group them together (Ctrl-G). Name the group "gardenground1" or
something similar.
Reduce the scale of the group in step 5 by a small amount and align it so
it sits inside of the bubble built above. This will be a platform or ground for the trees
to sit on inside the glass bubble.
From your Objects
Library, load the structure model.
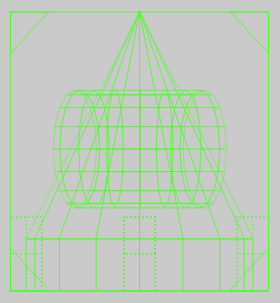
Reduce the scale of the structure similar to the example
shown below:
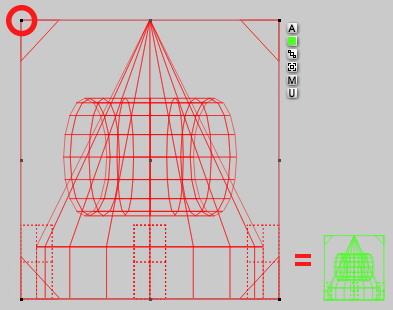
Align the structure
with the top of the bubble:
From your Objects
Library, load the dome model.
Reduce the scale of the
dome similar to the example shown below:
Access the Object
Attributes by clicking on button next to the
bounding box. Enter 180 in the X-rotate field and click on the checkmark to
accept the changes and flip the dome.
Align the dome top with
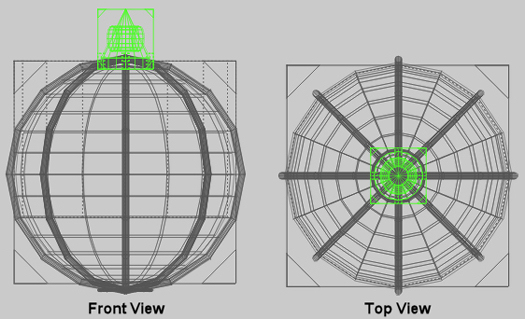
the center bottom of the bubble. Select all groups and group
them together (Ctrl-G). Name it something like "gardenbubble".
The next part will be to create some trees
to sit inside the bubble. The trees will be created
using the standard default tree from the Tree Lab.
Because the floating garden will appear quite small within the final scene it is
not necessary to create any custom trees in the tree lab because the detail
would be lost.
Create a tree by clicking on the tree
icon in the Create palette.
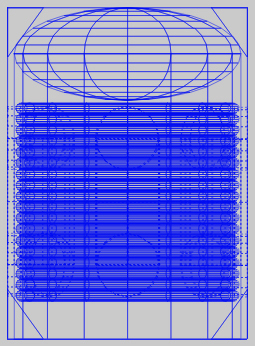
Duplicate the tree about nine times
and arrange them similar to the example below:
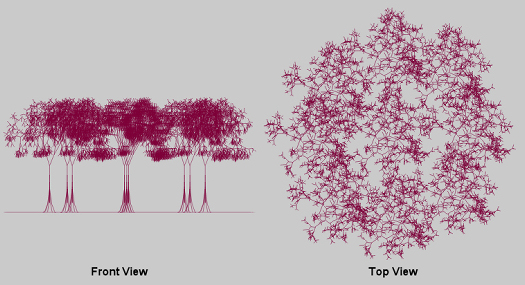
Move individual trees up or down to give the foliage a
less uniform appearance.
When you are happy with the appearance
of the trees select all of them and group them together (Ctrl-D).
Access the Object Attributes by clicking on the
button
next to the bounding box and change the name to ōtreesö.
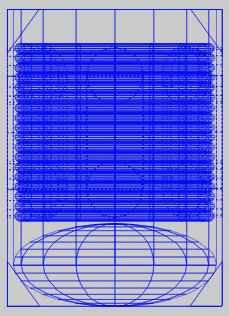
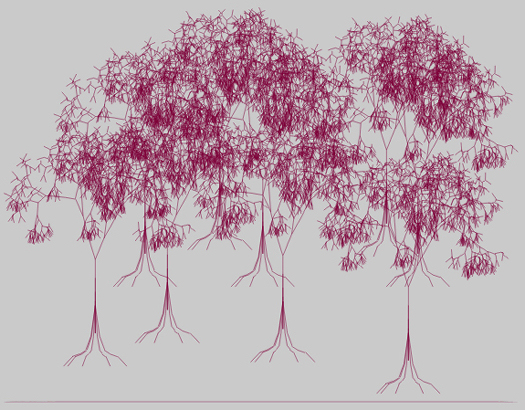
Reduce the scale of the trees so that they can fit inside the bubble.
When placing the trees inside the bubble, make sure that all the roots of the trees are
planted in the ground of the platform so that none of them
appear to be floating. You may have to do a couple of test renders to make sure
that there arenÆt any roots or leaves protruding outside of the bubble.

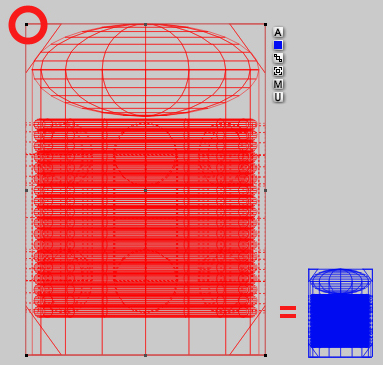
Once you are happy with how they look, group all objects together and
name the group "Floating Garden 1".
Now we'll texture the garden, so select
the floating garden group making sure that the trees group is not selected.
Open the preset Materials
library and select the "Hammered Steel" material from the Masters Series
Cloud City sub-library. This is the same Hammered Steel material from the metals
library, but with the ambient channel changed from orange to a dark grey.
Now we need to change the material of
the sphere named ōglassö. Hold the Ctrl key down and click on the area where the
glass sphere is. A grey menu will appear allowing you to select that sphere
specifically.
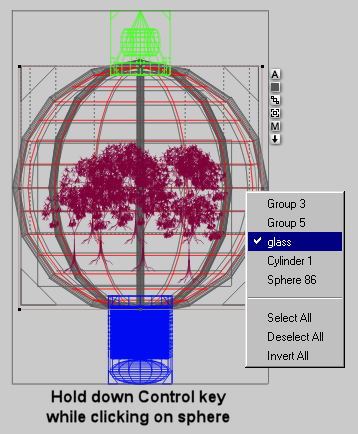
With the glass sphere selected open up
the preset Materials library and select "Glass
Bubble #1"
from the Masters Series Cloud City sub-library. This is the same "Glass
Bubble #1" material found in the Glass library but placed in the Cloud City one
for convenience.
Do a test render and you should have something that looks like this:
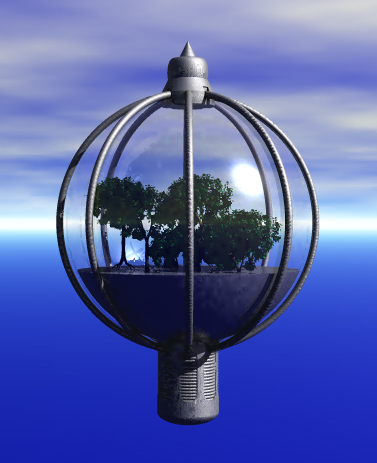
Save the Bryce file as "Floating Garden" for later use. Please note
that if you save the garden to the Objects Library with the trees included, you
may crash Bryce on trying to load the garden later or if you try to export the
object from the library. This is why you should save the garden in a Bryce scene
file instead of saving it to the library. If you load the garden that is
included in the Objects Library, you'll see that the trees are not included.
Step 8 Adding the Clouds |