Cloud City
Step 5 ¢ The Structure
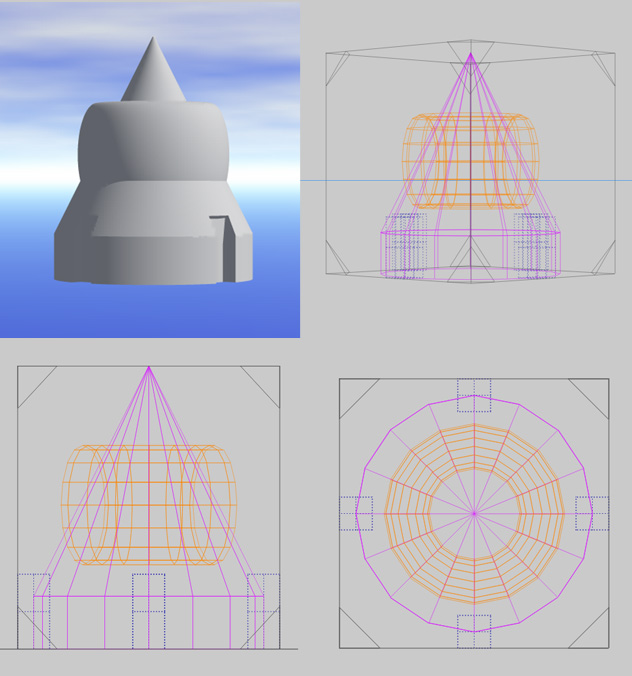
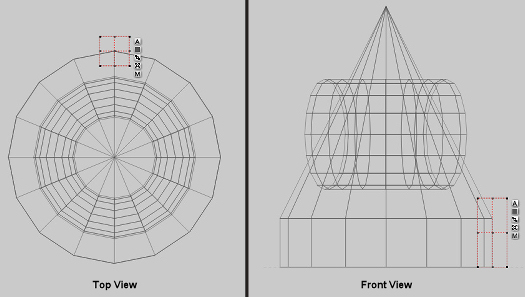
The next model to create is a rather
basic structure, in that it consists of one cone,
one cylinder, one torus, and
four
cubes. It will be used to interact with the other models that go to create the
city. Within the process of completing the model, alignment and grouping will
take place. Simple Boolean operations also occur. In the example the neutral
objects appear as orange, the positive objects as pink, and the negative ones as
blue.

(click on image for a larger view)
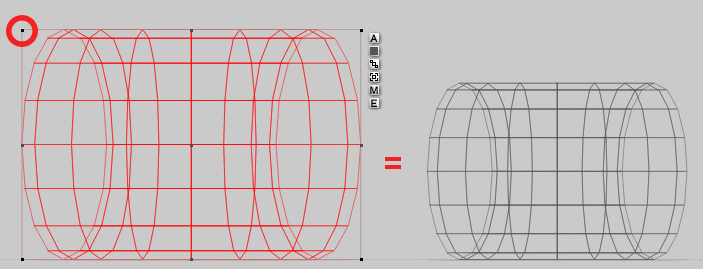
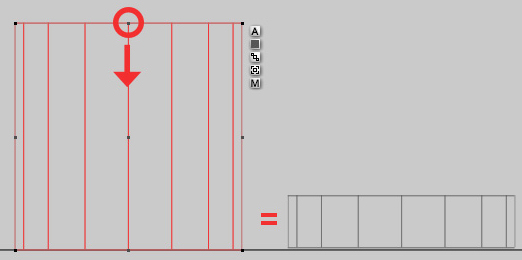
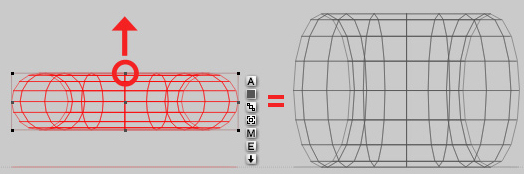
Create a cylinder and reduce the height
through the Y-axis.
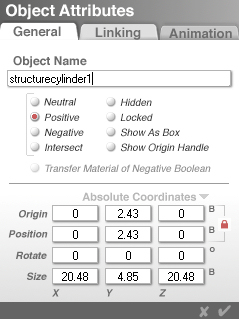
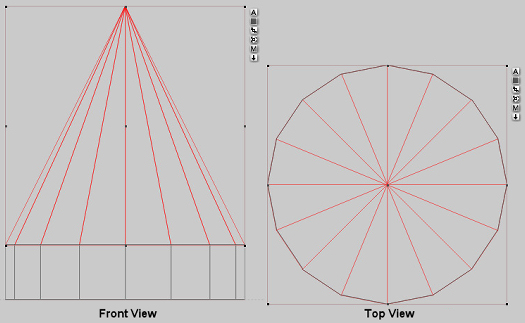
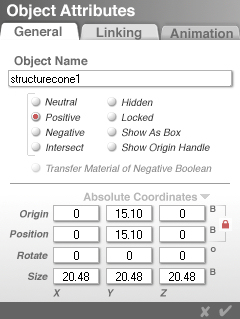
Create a cone and place it on top of the
cylinder. The easiest way to do this is to move the cone above the
cylinder on the Y-axis, then select "Snap To Land" from the Align pull-down menu. Select both
the cylinder and the cone and press ōPö on the keyboard to set
them to positive for Boolean operations.
(click on image for a larger view)
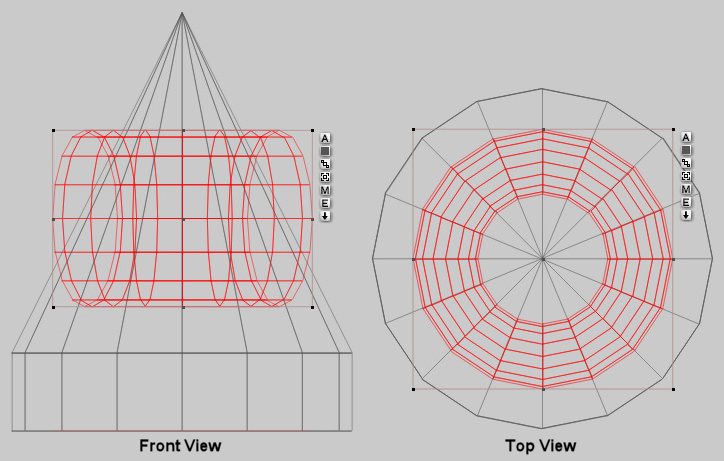
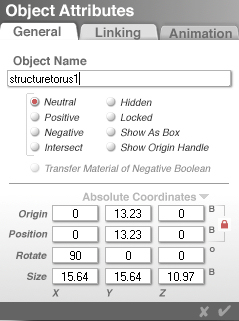
Create a torus and enter the
Object Attributes by clicking the
 button
next to the bounding box. Enter a value of 90 in the X-rotate field and
click on the checkmark to accept the changes. button
next to the bounding box. Enter a value of 90 in the X-rotate field and
click on the checkmark to accept the changes.
Increase the height of the torus through
the y-axis:

Reduce the scale of the torus by
a small amount:
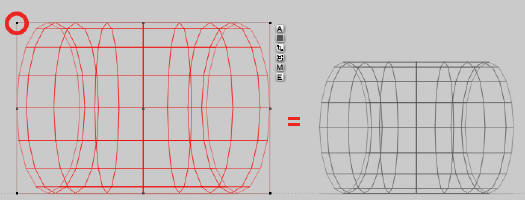
(click on image for a larger view)
Align the torus with the cone
making sure that the centre of the two runs through the core.
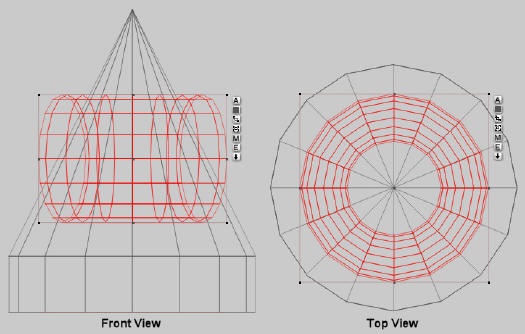
(click on image for a larger view)
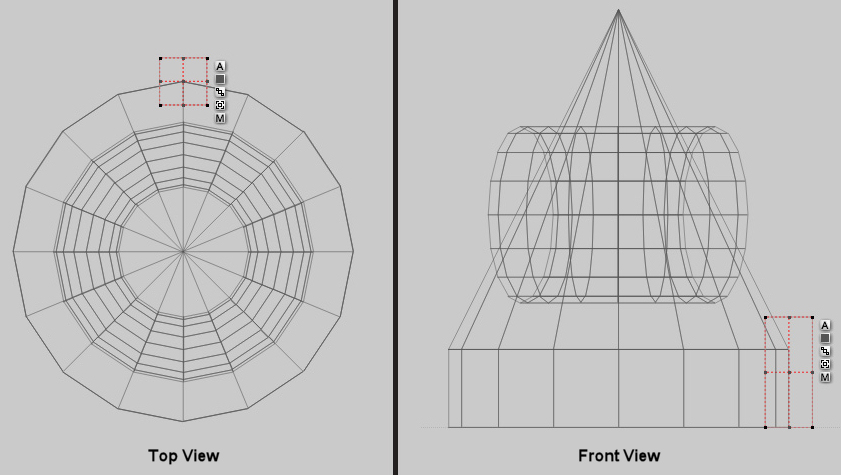
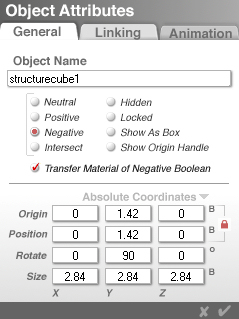
Create a cube and press ōNö on the
keyboard to set it to negative for Boolean operations.
Reduce the scale similar to the example.
Double the height of the cube through
the Y-axis:
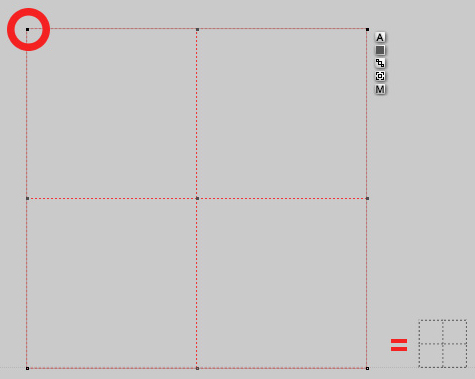
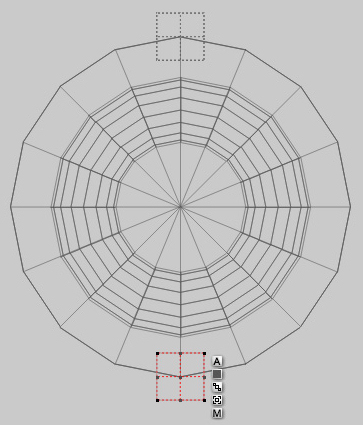
Switch to the top camera view and align
the cube at the 12 oÆclock position in conjunction
with the cylinder.
(click on image for a larger view)

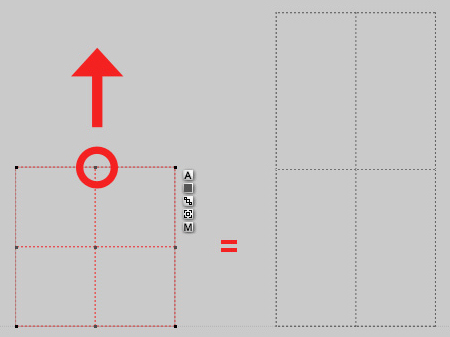
Duplicate the cube (Ctrl-D), and
place it at the 6oÆclock position (set the Z-origin to -10.24).
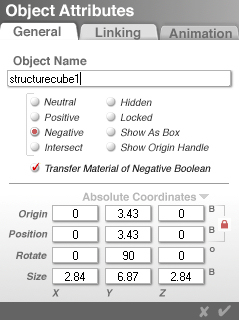
Select both cubes, duplicate them (Ctrl-D),
and group the two new cubes together (Ctrl-G).
Access the Object Attributes by clicking on the
button next to
the bounding box. Enter 90 in the Y-rotate field and click on the
checkmark to accept the changes. The two cubes should now
appear at the 3 and 9 oÆclock positions.

Ungroup the two cubes (Ctrl-U),
then select all objects and group them all together.
Apply the Polished Pewter material from the Master Series Cloud City Material
Presets sub-library. Save the model to your
Object Presets Library for later use. If you copied the included Presets folder
into the Bryce 5 main folder, select the Master Series library and save the
structure to the Cloud City sub-library. Name it
something like "structure" or "Structure 1".
Step 6 Building the City |