Cloud City
Step 2 ¢ Center Dome
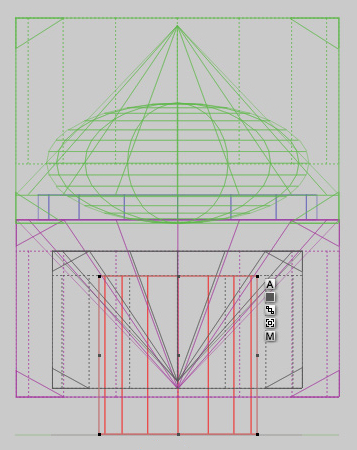
With the base of the city complete we will now create some buildings that
will sit on top of the base. The first model to create for the city will be a
dome structure that sits on top of the base and is the dominant feature within
the structure. Looking at the model it is made up of three cones, five cylinders, and
one
sphere. Alignment and grouping will be part of the process used. A series of
simple Boolean operations are performed within the making of this particular
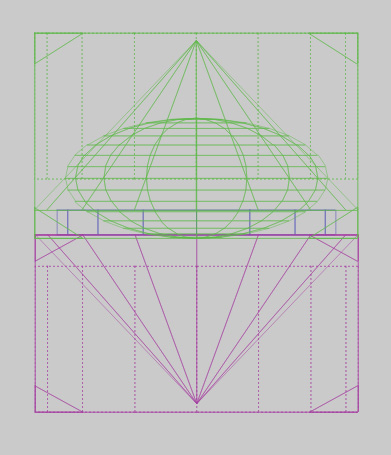
structure and each object is centered down through the core. In the diagram the
objects have been color coded using the family function to show the Boolean
attributes of each one for reference. The neutral objects appear as orange, the
positive objects as pink, and the negative ones as blue.
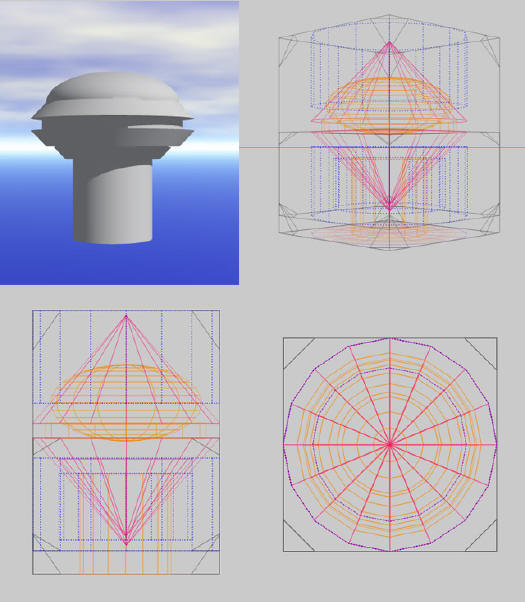
(click on image for a larger view)
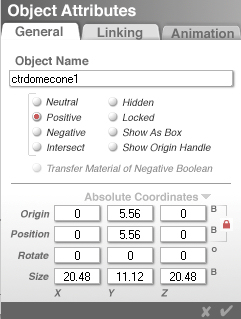
Create a cone and reduce the height through the Y-axis and set the cone to positive for Boolean
operations:
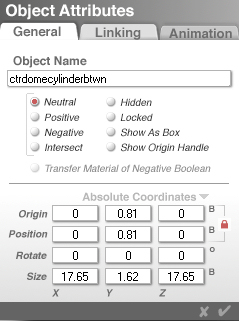
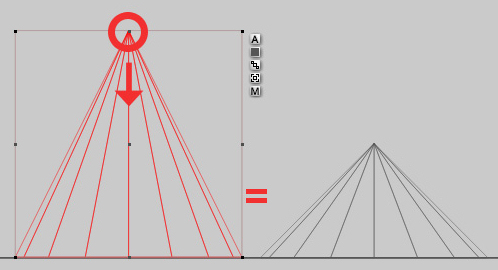 Create a cylinder and set it to negative. Align the cylinder
above the cone, centered above the cone. Reduce the height of the cylinder
through the Y-axis so the top edge is just above the pinnacle of the cone:

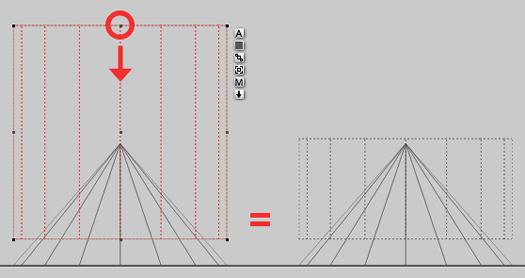 Select the cylinder
and cone and duplicate them by pressing Ctrl-D on the keyboard.
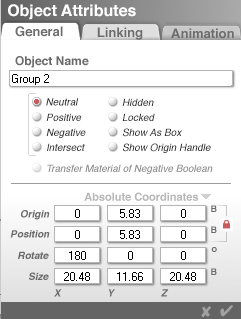
Group the duplicates together (Ctrl-G) and access the Object Attributes menu via the
 button by the bounding box. In the
attributes, rotate the group through the X-axis 180 degrees. This will be the
bottom part of the dome structure. Move to the side for use later. button by the bounding box. In the
attributes, rotate the group through the X-axis 180 degrees. This will be the
bottom part of the dome structure. Move to the side for use later.
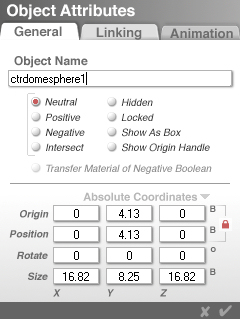
 Create a sphere and reduce the height through the
Y-axis:

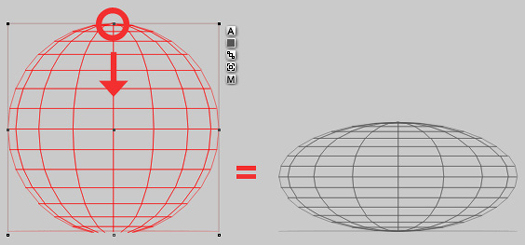 The sphere will act as a dome and connect with the cylinder and cone
created above. Align its center so that the middle of the sphere sits
just where the base of the cylinder meets the cone.
 Group the three objects together
to create the top part of the dome by pressing Ctrl-G on the keyboard or by
clicking on the  button next to the
selected objects. button next to the
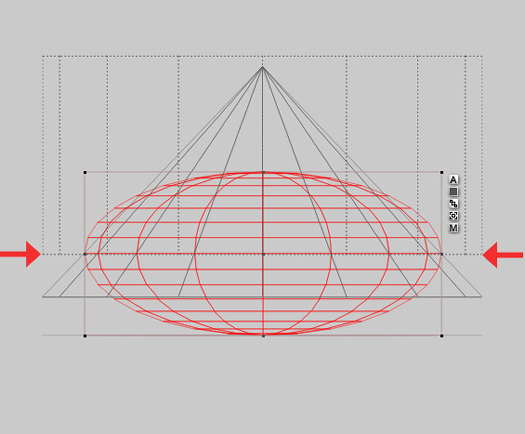
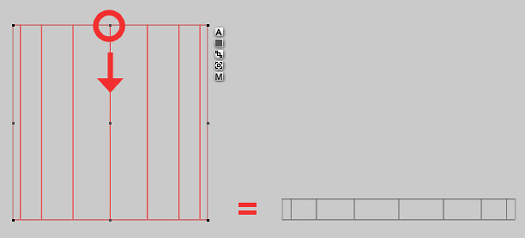
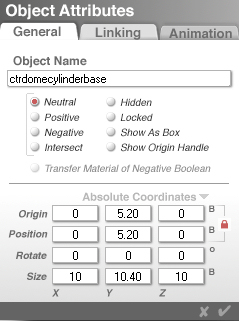
selected objects. Create a new cylinder and reduce the height through the
Y-axis and the radius is slightly smaller than that of the cone in the dome
group:
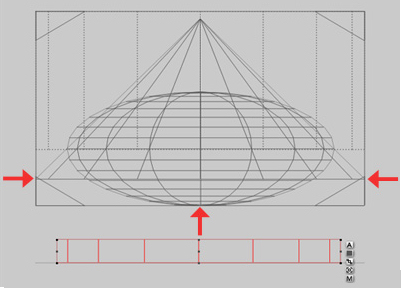
 Move the cylinder so
that the top edge is aligned exactly with the bottom edge of the cone. Zoom in
if needed to place the cylinder. You might want to check the Attributes after
placing the cylinder to make sure that the X- and Z-axes are still at 0.
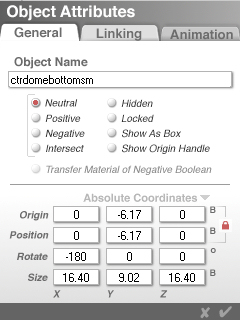
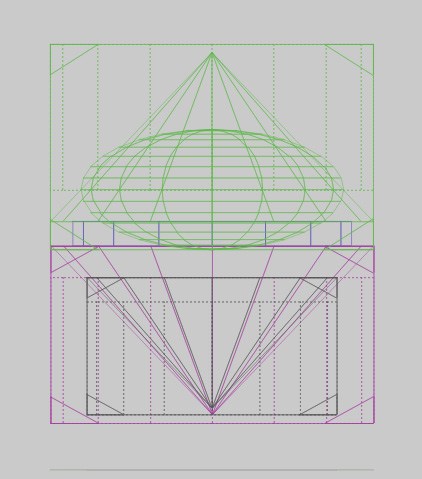
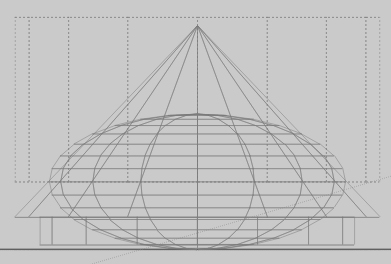 Now, locate the bottom part of the dome structure
you created above (the one you rotated and moved to the side) and align it with the bottom edge of the
cylinder You may need to zoom in to see where to line it up. In the example we
can see the dome structure at the top is shown in green, the cylinder is shown
in blue and the bottom of the dome in purple:
 Select the
bottom part of the dome structure, duplicate it (Ctrl-D),
and reduce the scale:
 Align the
duplicate underneath the original so that the top of the group lines up with the
top of the negative cylinder on the original. The duplicate is shown in black in
the example:
 Create a new cylinder
and reduce the size:
 Align the
cylinder
underneath the dome by lining up the top of the cylinder with the top of the
negative cylinder of the smaller bottom dome group:
 Group all objects
and apply the
Polished Pewter material from the Master Series Cloud City Material Presets
sub-library. Save the model to
your Object Presets Library for later use. If you copied the included Presets
folder into the Bryce 5 main folder, select the Master Series library and save
the dome to the Cloud City sub-library. Name it
something like "center dome" or "Center Dome 1".
Step 3 The Tower |
